PM Kisan Samman Nidhi KYC: Indian Farmers have also chosen to apply the central government’s offline KYC alternative. Farmers who wish to do the PM Kisan Samman Nithya Kyc may also do so at their nearby Common Service Center (CSC). Farmers of the country must appear with their Aadhar cards to the CSC to take their Confirmation of the pm Kisan KYC to complete.
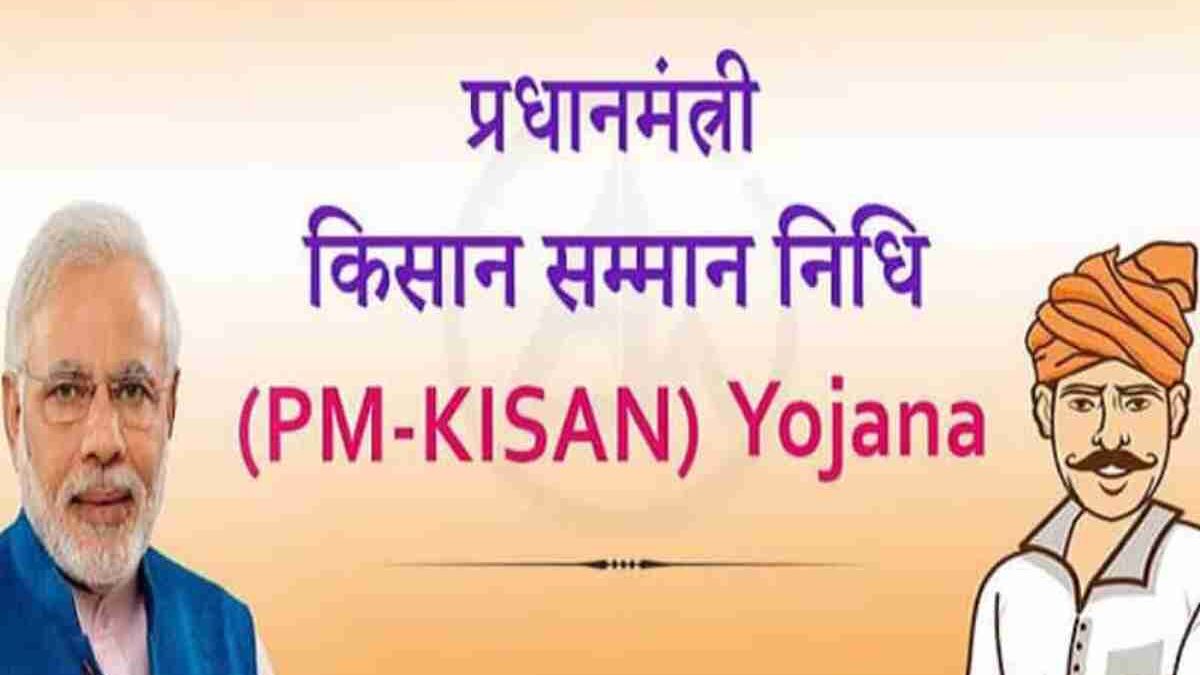
For more details related to pm kisan, you can read the article as follows.
Table of Contents
How do I Update e-KYC for PM Kisan?
To Update eKYC follow the given steps.
- Choose ‘eKYC’ from the drop-down option under the ‘Farmers Corner’ area on the right-hand side of the screen on the legal entrance.
- On the next page, fill out the ‘Aadhar OTP e-KYC’ form, enter your Aadhaar number, and click the ‘Search’ button.
- Once you submit an adhaar-linked mobile number, also you receive an OTP through text on the phone number you provide.
- KYC will successfully update after you submit the OTP.
What is PM KISAN e-KYC?
PM KISAN is a central government scheme in India by which the Indian government gives money related help to farmers who meet explicit conditions. Under the suggestion, all land-having farmer families would get yearly compensation help of Rs. 6,000, paid out in three identical proportions of Rs. 2000 at customary stretches. The farmer fit for this plan will get the resource in their monetary equilibrium.
PM Kisan Samman Nidhi Yojana Overview (PM KISAN) is the name of the arrangement that the central government shipped off.
Beneficiaries
The country is small marginal farmers. The main benefit is Rs. 6000, distributed in three installments of 2000 each.
Scheme’s Purpose
The essential job of the pm kisan samman nidhi scheme is to give farmers money related help. Accepting you get the PM Kisan Samman Nidhi Yojana, similarly you should complete the PM Kisan e-KYC system to take advantage of the arrangement’s benefits. Hence, in case you have not yet finished the really given interface pmkisan.gov.in ekyc, go to PM Kisan’s authentic site at pmkisan.gov.in and wrap up PM Kisan Samman Nidhi eKYC.
PM Kisan KYC Status 2023
To truly take a gander at the KYC status for PM-Kisan in 2023, visit the power PM-Kisan site at https://pmkisan.gov.in. Sign in using your IDs, and investigate to the KYC section on the site. You can similarly see your KYC status there, tending to whether your KYC check process has been done actually. It is essential to ensure that your KYC is current to maintain getting the benefits and support under the PM-Kisan plot.
Steps to do PM Kisan eKYC through CSC Center
Check the following step to do PM Kisan eKYC through the CSC center –
- Visit the nearest CSC Center.
- Ask the anxious person to update the PM Kisan e-KYC online.
- Please provide them with the required information, such as valid Aadhar card details.
- They will fill in the required detail and submit them on the website.
- After that, the system will confirm Aadhar details and other information.
- Once they verify the details, then e-KYC will be done.
Documents Required for PM KISAN eKYC
To complete the PM Kisan Samman Nidhi Yojana e KYC record, the selected farmer ought to have a significant Aadhar card. Accepting the farmer’s cellphone number associations with his Aadhar card, he can complete his PM Kisan Ekyc 2022 on the web. The client ought to perform disengaged eKYC at a detached office, for instance, Typical Help People group, for PM KISAN e-KYC.
PM KISAN HOME – EXLINK PMKISAN GOV IN EKYCBIOMETRICDEVICE ASPX CSC LOGIN
PM Kisan Samman Nidhi is as of now open for the people who have actually done the e-KYC or KYC certification technique. Through the Pradhan Mantri Kisan Samman Nidhi yojana, Farmers who have done enlistment with the KYC and gave up to an application may in like manner benefit from the money trade. Subsequently, Farmers enjoy grown a set benefit (a legitimate total) in their records through the Quick Benefit Move (DBT) system. From there on out, ten segments of the PM Kisan Yojana have been allowed in this structure.
EXLINK.PMKISAN.GOV.IN EKYC CSC LOGIN 2022 – EXLINKPMKISAN GOV IN
- Most importantly, you should go to PM Kisan’s actual site.
- On the right side of the official website’s home page, you can see an option, eKYC, that you must pick.
- You must need to do the login there.
- So, you may find your Aadhaar card by offering your Aadhaar card number and captcha code.
- To check the Aadhaar card, offer the mobile number linked with it.
- In the last step, click ‘Get OTP’ and enter the OTP in the application form.
HOW CAN I SET UP MORPHO FINGERPRINT DEVICE FOR PM KISAN YOJANA E-KYC?
To set up Morpho on your device, you have three steps, as shown below:
- Initially, you should have to uninstall all programs related to the fingerprint system recently.
- Then, it would be best to delete all files about the fingerprint system.
- Next, you must download and also install the new Morpho RD ability.
EXLINK.PMKISAN – EX PM KISAN GOV IN BENEFICIARY STATUS CHECK – pmkisan.gov.in
- Anyway, you ought to visit pmkisan.gov.in, the power site of PM Kisan Samman Nidhi.
- Pick the Recipient Status starting from the drop menu and snap the Payee Status choice.
- Choose an Aadhaar number, a phone number, and a bank account number.
- So, you should have to select ‘Get Data.’
- Therefore, the details are now only on the screen.
PM KISAN KYC MORPHO SETTING: MORPHO RD SERVICE
- Foremost, you should visit the official website, i.e., rdserviceonline.com to check pm kisan status.
- Download Morpho Driver for Windows.
- Plug the Biometric Morpho system into your system and install the driver first.
- When your driver’s installation has been done, you may go to the C drive of the computer.
- Click on the Morpho RD Service, and also visit Morpho Rd Service.
- Click on the Configuration Settings, and save the procedure.
- Now here, it will be printed in CommunicationMode:1.
- Then we reduce the “1” and create it as zero.
- After that, Restart your system.
- When restarting completion, the Pop-up of Biometric Registration Successful will appear before you.